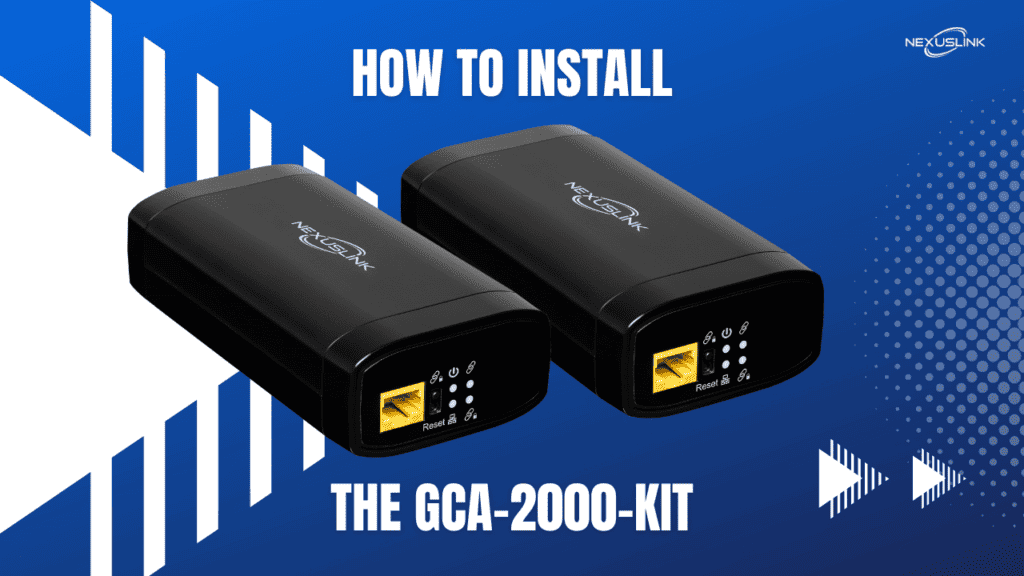
How to Install NexusLink’s G.hn Wave 2 Coax over Ethernet Adapter (GCA-2000-KIT) Video With Transcript
Share:
Home / How to Install NexusLink’s G.hn Wave 2 Coax over Ethernet Adapter (GCA-2000-KIT) Video With Transcript
Interested in learning how to install your Ethernet to Coax Adapter (GCA-2000-KIT)? Watch the video and follow along with the transcript below for instructions, troubleshooting tips, and more!
Script & Video by Paul from 5-Port Studios
[0:02] Introduction
Do you have unused coax cable in your walls? Do you want wired internet in a room that you can currently only get WiFi? Do you want faster file transfers that your WiFi connection just can’t give you? Or maybe you just want the most stable connection when working from home. I think I might have a solution for that.
Let’s take a look at the adapters, walk through how to install them, and on the way, we’ll go through some of the features. One side note: from my testing I did not have success with getting any connection between the two adapters when running it through active coax lines that carried my cable TV and Internet modem signals. My TV and internet worked fine but the adapters didn’t even see each other so for any coax and connections I reference in this video we need to assume the coax cable I’m talking about is dark and unused at that moment.
[1:02] What’s in the box?
In the box, you’ll get two ethernet adapters, two ethernet cables, two power adapters and some documentation. Each of the adapters in the kit are the same. They have an RJ-45 networking port, two buttons, and four lights on one side, and two F-Type coax Jacks and a barrel Plug Power connector on the other. The RJ-45 connector is where you detach your network device like your Internet modem, computer, or gaming console. I’ll get into all of that in a moment when I show you how to install everything.
[1:39] What do the lights on the coax adapters mean? Plus troubleshooting tips!
The four lights tell you quite a bit about what’s happening inside that little box.
The light with the symbol of a vertical line with a circle around it is your power light. If it’s lit a solid green the power is on, if it’s not lit the device is not getting power. If the AC power adapter is connected to the device, and the other end is plugged into the wall, and you’re still not getting any power try another power outlet or try the other adapter from the kit to determine if you have a faulty wall plug or a faulty AC power adapter.
The light directly below the power light is your ethernet status indicator if the light is a solid green, an ethernet connection has been established with the device that you’ve plugged into the networking port. If it’s green and blinking it means that there’s data being transmitted. If the light is out the device that you’ve plugged into the networking port is either turned off, or the ethernet cable connecting them is faulty, or there isn’t anything plugged in at all.
The light to the right right of the power light is the connection light. This one is the most important because it tells you about what’s happening between the two coax adapters. If it’s a solid green, you have a data connection rate of more than 40 megabits per second. A yellow light means your connection is between 5 megabits and 40 megabits and a red light means that the connection rate is less than 5 megabits per second. If the light isn’t lit, there is no connection between the two coax ethernet adapters.The remaining light in the bottom right corner is the security light. If it’s a solid green, the adapter has a secure connection and has an AES 128-bit encrypted signal keeping your data secure. If it’s blinking it’s in the process of becoming secure and if it’s not lit the connection is not encrypted.
[3:29] What are the buttons on the coax adapters? Plus troubleshooting tips!
The top button to the left of the power light is your security button. When you’ve connected everything, powered it up, let it go through its own boot sequence, and it’s all working for the the first time, you can hold down then security button for two seconds on one unit and the security light will start blinking. You then have about two minutes to get to the other adapter and press its security button for two seconds and it’ll start encrypting the signal between the two. This can take a moment so just be patient while it does its magic once this process is complete the first time. You don’t have to do it again even if your adapter loses power, but if you ever move it to a different location and it starts acting up, you may want to re-secure the two by doing this process again.
The other button is the reset button. Hold it down on each of the adapters for 10 seconds and it’ll reset everything to factory default. If the adapters won’t connect to each other, and you verified the coax wiring should work, resetting the adapters is a great way to start troubleshooting connection issues on the other side of the device.
[4:32] Ports & Plugs
The AC power adapter plugs into the port marked power. The coax connector marked G.hn is what would connect the adapter to the wall with a coax cable. The TV out connector is only to be used when receiving Community Access TV or Community antenna signals. These signals work on different frequencies that to my knowledge do not impact the adapters but this use case is also probably getting more rare as time goes on.
So we’ve seen what buttons we should press and what all the colorful blinking lights mean so let’s put this all together!
[5:11] How do I install the GCA-2000-KIT G.hn Ethernet over Coax Adapters?
I’m going to lay out the devices here as a mini installation. On each side of the screen we have the adapters and let’s imagine this wall plate is attached to a wall and the cable coming from it is a 75-foot run going through the walls down to the basement to the opposite corner of the house. It doesn’t matter what adapter you start with so let’s start with this one.
The Set Up
On this side is the room that has your gaming PC in it that you don’t want to use WiFi with anymore, but the room doesn’t have an ethernet port on the wall, but it does have an unused coax jack, and over here is your basement. Your Internet modem is down there and gives the whole house its Wi-Fi. Everyone else is fine with the WiFi but it’s a bit too slow for what you need. Your Internet modem happens to be set up next to the spot where the coax cables converge into one location from all of the rooms in the house, and one of those is your room’s unused cable.
Connecting Your Adapters to the Coaxial Cables
After identifying the cable for the room you want to use with the adapters, we hook them up like this. Take a piece of coax and attach one side to the wall and the other to the g.hn port on the adapter. Finger tight is fine. I do find that I like to snug mine up a bit to prevent any loosening over time– and yes it can happen with heat and cold fluctuations metal can expand and contract slowly– so over time I’ve had coax connectors become loose and cause bad connections.
Connecting Your Adapters to the Ethernet Cables
Take an ethernet cable and plug one end into the adapter and the other into the device you’d like to hardwire into your network. Now down to the basement. We’ve located the coax for the room with the adapter so we’re going to plug that into the G.hn port. In my basement, the cables that come from each of the rooms have the F-type coax connectors already on them so they are ready to go.This time the ethernet cable will go from one port on the Internet modem or router. Let’s pretend this cable is coming from my Internet modem and it’ll plug into the ethernet port on the adapter.
Plugging in the Power Adapters
Next we plug in the power to both of the adapters and wait for them to find each other. This can take a little bit so just wait until the lights appear to be in their final states as we can sort of see– sorry for the glare and reflections– here, the power light is on. The ethernet light is blinking showing data is being transmitted. The connection light is green, confirming we have a 40 or more megabit connection between the adapters through the coax cable and the security light is off at the moment.
Checking Your Device for a Connection
Let’s make sure we have internet in the room here. I have a hardwired device that’s getting its internet from the ethernet cable that’s coming from the coax to ethernet adapter and I’ve made sure to disable the wireless adapter as well, just to make sure there aren’t any possible Wi-Fi connections.
Securing Your Connection
Now that I know it’s working it’s time to secure my connection. I’m going to press and hold the security button for two seconds and the security light will start to blink. I now have about two minutes to get to the other adapter and press the security button on that one for two seconds so the two can create an encrypted connection. The security lights have now stopped blinking and are solid. It’s telling us our connection is secured.
Need additional Ports?
Since this coax the ethernet adapter has only one port, if I had a gaming PC, a smart TV, and a gaming console that I wanted all hardwired in, I could use a gigabit switch to expand the amount of ports I have to plug things in. Just plug the ethernet cable from the coax to ethernet adapter into the port on the switch and then I can start plugging in the rest of my stuff.
Conclusion
One nice feature about these adapters is that it uses a technology called forward error correction or “FEC”. It can error check and correct any issues it finds which makes streaming video content really nice because it reduces video lag which can help improve video quality. Another feature that I really like is the ability to connect up to 16 of these in one network this will definitely give you a stable connection and speeds fast enough to do pretty much everything you want without having to fish ethernet cables through your walls.